So, it's Thanksgiving and you're in charge of dessert. Of course you choose homemade pie! Pecan pie, pumpkin pie, or apple pie, you really can't go wrong... that is, unless you skimp on the crust. That's right: Put away the store-bought crust and make your own. Then, take it a step further and crimp the edges into a beautiful design! It isn't hard to do, and it's a way to impress your entire family. Need some inspiration? Here you'll find a step-by-step tutorial on how to prep and crimp your crust, four different ways.
Crimping doesn't have to be complicated. In fact, even the simplest crimp can transform a pie into a fall dessert that'll rival anything from the local bakery. From a classic crimp using your fingers to fun pie crust designs using everyday kitchen utensils like forks and spoons, all it takes a little know-how to crimp a pie crust.
Start with your favorite pie crust recipe.
The first step to a great looking pie is making the pie crust. Store-bought crusts are convenient, but nothing compares to the taste and look of a homemade crust. "A homemade crust is worth it!" Ree Drummond says. And don't worry, homemade pie crust is easy to make and can even be made ahead of time. In fact, Ree likes to make several batches of her favorite Perfect Pie Crust days before Thanksgiving and freeze them until she's ready to put together her pies. Of course, an all-butter crust is also a good choice.
Chill the dough.
Pop your pie dough into the fridge for two hours or freezer for one hour before you roll it out. This helps the gluten relax and will keep your dough from shrinking too much when you roll it out. Just know that if it's too cold, it'll be difficult to roll out and may crack or tear when you try to crimp it. If that's the case, let it hang out on your countertop for a few minutes until it softens some.
Roll the crust to the correct size.
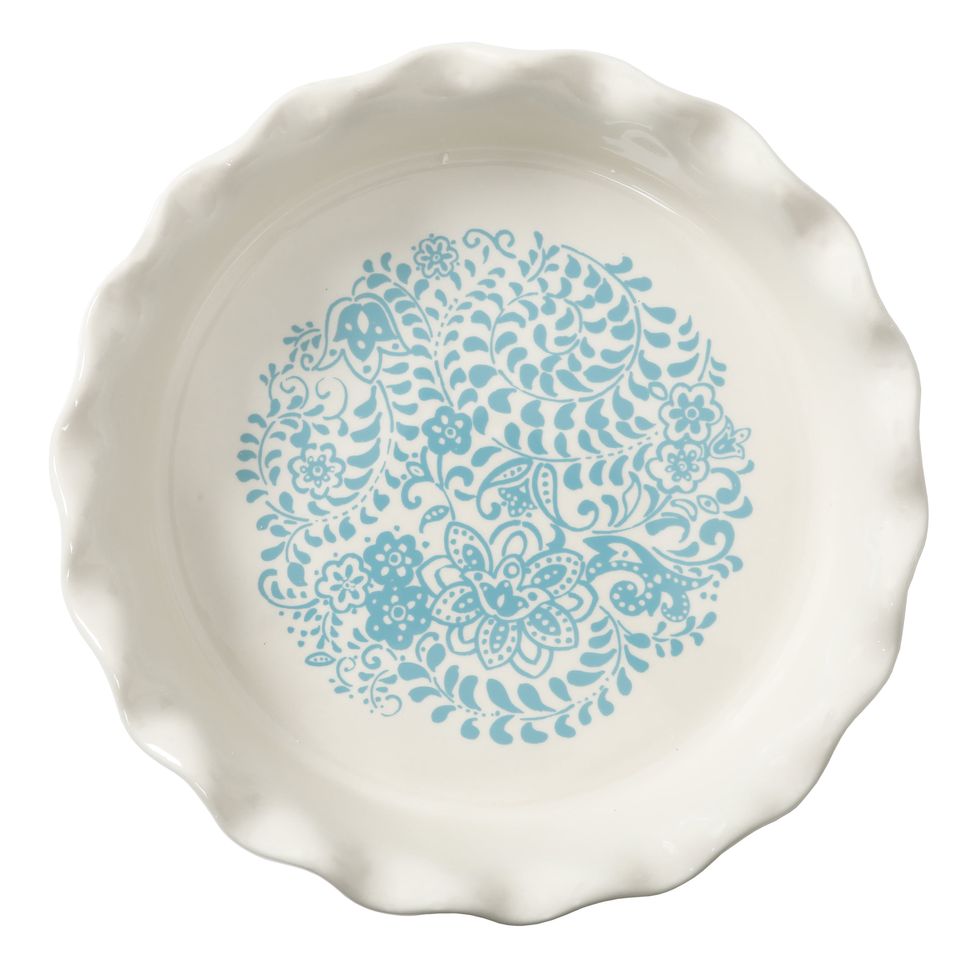
The first piece of information to determine is whether you're using a regular or deep-dish pie plate. If the recipe doesn't specify, stick with a regular pie plate, and if you're not sure which type you have on hand, simply grab a ruler. Regular pie plates typically have a depth of 1 1/2 inches. A deep-dish pie plate will usually be between 2 and 2 1/2 inches deep.
For a regular pie plate, the general rule of thumb is to roll the crust in a circle about 3 inches larger than the pie plate. For example, if you're using a regular 9-inch pie plate, roll the crust to 12 inches in diameter. For a deep-dish pie plate, shoot for about 5 inches larger than the pie pan. So, if you're working with a 9-inch deep-dish pie plate that has a 2 1/2-inch depth, you'll need to roll a 14-inch crust.
You want the crust to cover the base and sides of the plate, with a little excess hanging over the edges, about 1/2 inch. As far as thickness, aim for a crust that's about 1/8 inch thick all over to ensure it's nice and sturdy and bakes evenly.
Trim the right way.
If you rolled the dough to the right size, you shouldn't have to do much trimming! Make sure you leave about 1/2 inch of dough hanging over the edge of the pie plate. Trim, if needed, just to make the edges uniform.
Prime the crust.
Once you've done any necessary trimming, simply fold the rest of the dough under to create a nice border that aligns with the edge of the pie plate. After you fold it under, press it flat against the pie plate, so it's uniform in thickness all around. This will give you the even layer of crust that you'll need to make the prettiest design. Now, you're ready to crimp! Choose your favorite design below and get to work.
Chill and rest the crust again.
Once you've placed the crust in the pie plate and crimped it, pop the crust back into the fridge for an hour or freezer for 30 minutes once more before baking. This will give the butter a chance to firm up yielding a structured, flaky dough. It also allows the gluten developed from rolling the crust to relax, and prevents the pie crust from shrinking and sliding down the sides of the plate.
This crimp is popular for a reason—it's classic and beautiful! Starting on the outside edge of the crust, use your thumb and index finger to gently pinch a portion of the dough into a soft "V" shape. With those fingers still in place, use a finger from the opposite hand to gently press the center of the "V." You can make the crimps as wide or as thin as you like. Continue around the edges until the entire crust is crimped.
This is similar in technique to a classic crimp, but even more impressive-looking. To make a rope crimp, use both of your index fingers. With your fingers parallel to one another, press a portion of the dough between them so that it stands up some in the middle and flattens down some on either side. Rotate the pie and continue all around to create a swooping, twisted effect.
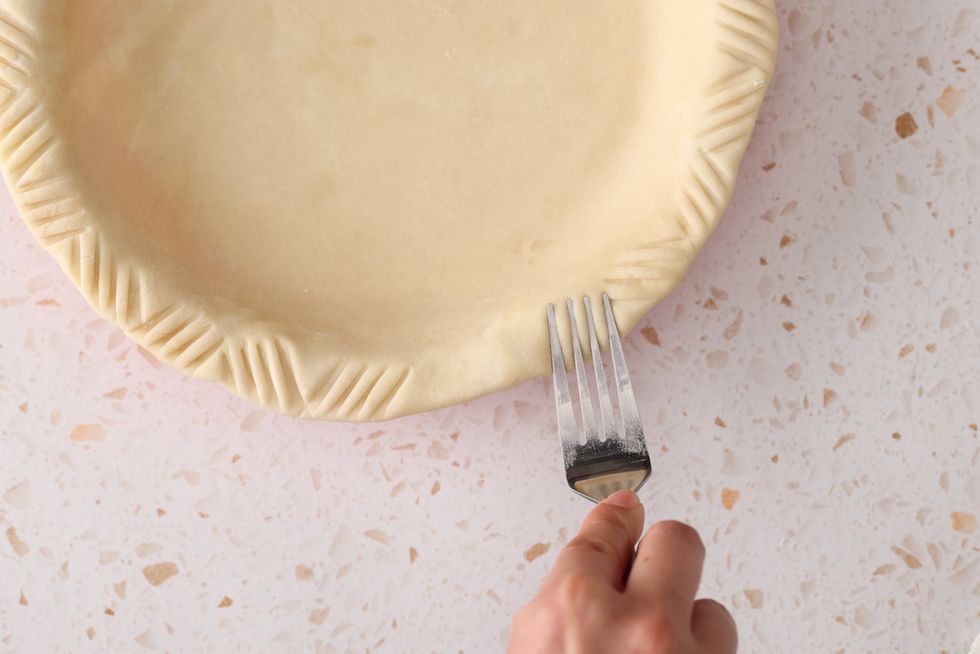
This is one of the easiest ways to level up your pie. Just grab a fork, dip it in flour, and press the tines into the border of the crust. You can do a simple fork crimp by pressing straight down, or create a chevron pattern (as shown here) by angling the fork at 45 degrees to the left, and then to the right, alternating as you go around the pie.
Similar to the fork crimping technique, this one is all about a spoon! Starting from the outside of the pie, use the edge of an upside-down floured spoon to press a semi-circular shape into the dough, all around the pie. Make this first mark close to the inner edge, then go back and repeat the process, creating another smaller semi-circle closer to the outer edge to achieve a scalloped effect.
Which one is your favorite? Sound off in the comments below!


